Connecting to the Campus WiFi
If this is your first time connecting to WIFI, skip down to the Chrome OS Connection step.
Chrome OS Connection
- Connect to the "SnowWifi" wireless network
- Run the onboarding tool from this link - https://cloud.securew2.com/public/98609/Eduroam/
- User would be re-directed to the landing page of the specific network profile, the OS would be detected as Chrome OS, and you would be prompted to select “Chrome Webstore” to download the Chrome Extension.
- On selecting “Chrome Webstore”, you would be redirected to the Chrome Web Store and follow the instructions to install the Chrome Extension. Then return to the network profile landing page.
- On the landing page, click on Sign In → would redirect you to "WSo2 Login" → on successful
authentication, redirects to landing page → user needs to click on "Download" which
would download the ONC file and it would opens up a new Tab.

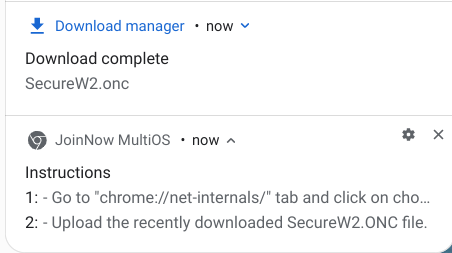
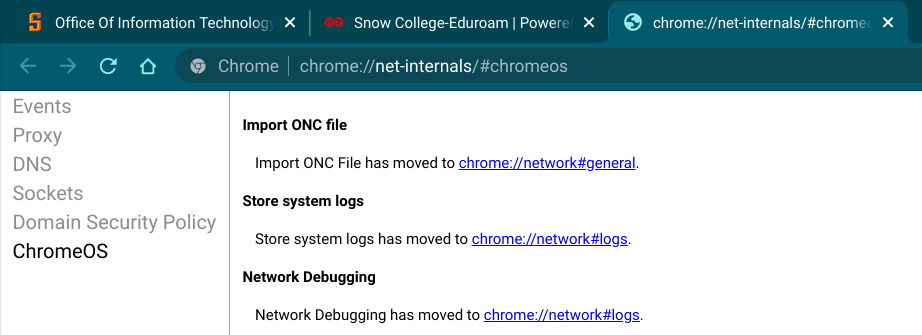
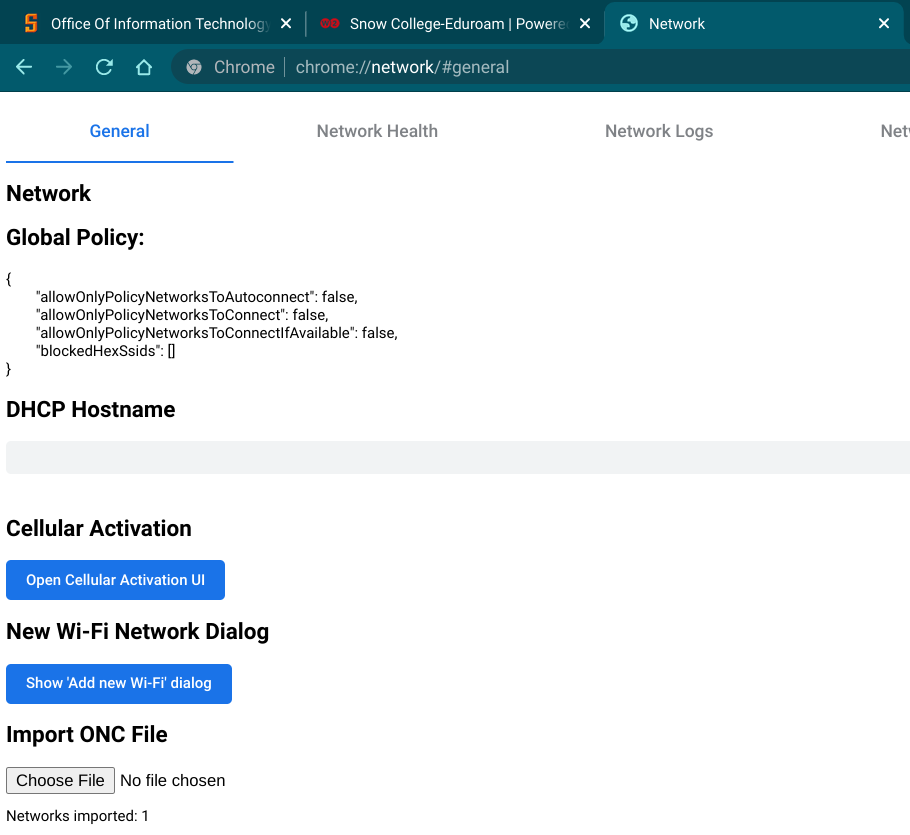
- User navigates to the new tab and clicks on “Import ONC File has moved to chrome://network#general”
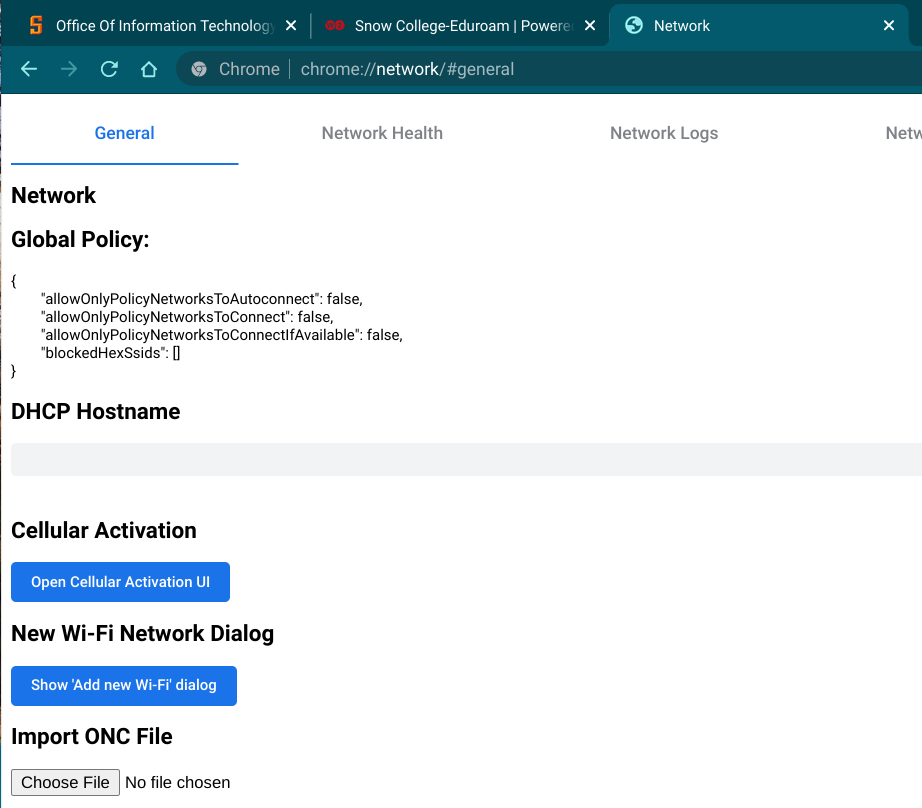
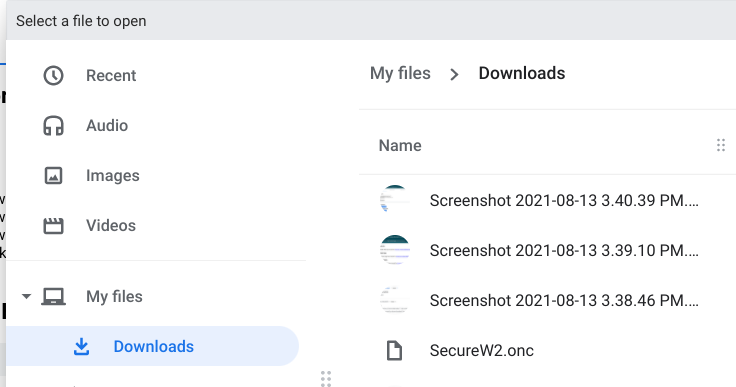
- User now clicks on "Choose File" under Import ONC File heading and would select the
previously downloaded SecureW2 ONC file, Then Click on "Open".
- At this point, the network profile configuration would be loaded on the Chrome OS
and the user manually selects the secured network by clicking on the wireless icon,
at the bottom right of the screen.
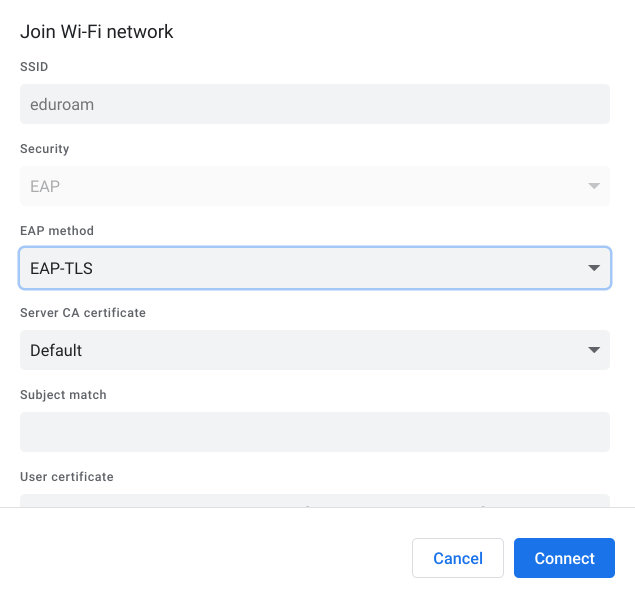
- A configuration window is opened and the user Clicks on Connect and would get successfully
connected to network.
Help
If you need help with this process, please contact the computer help desk at 435-283-7777.